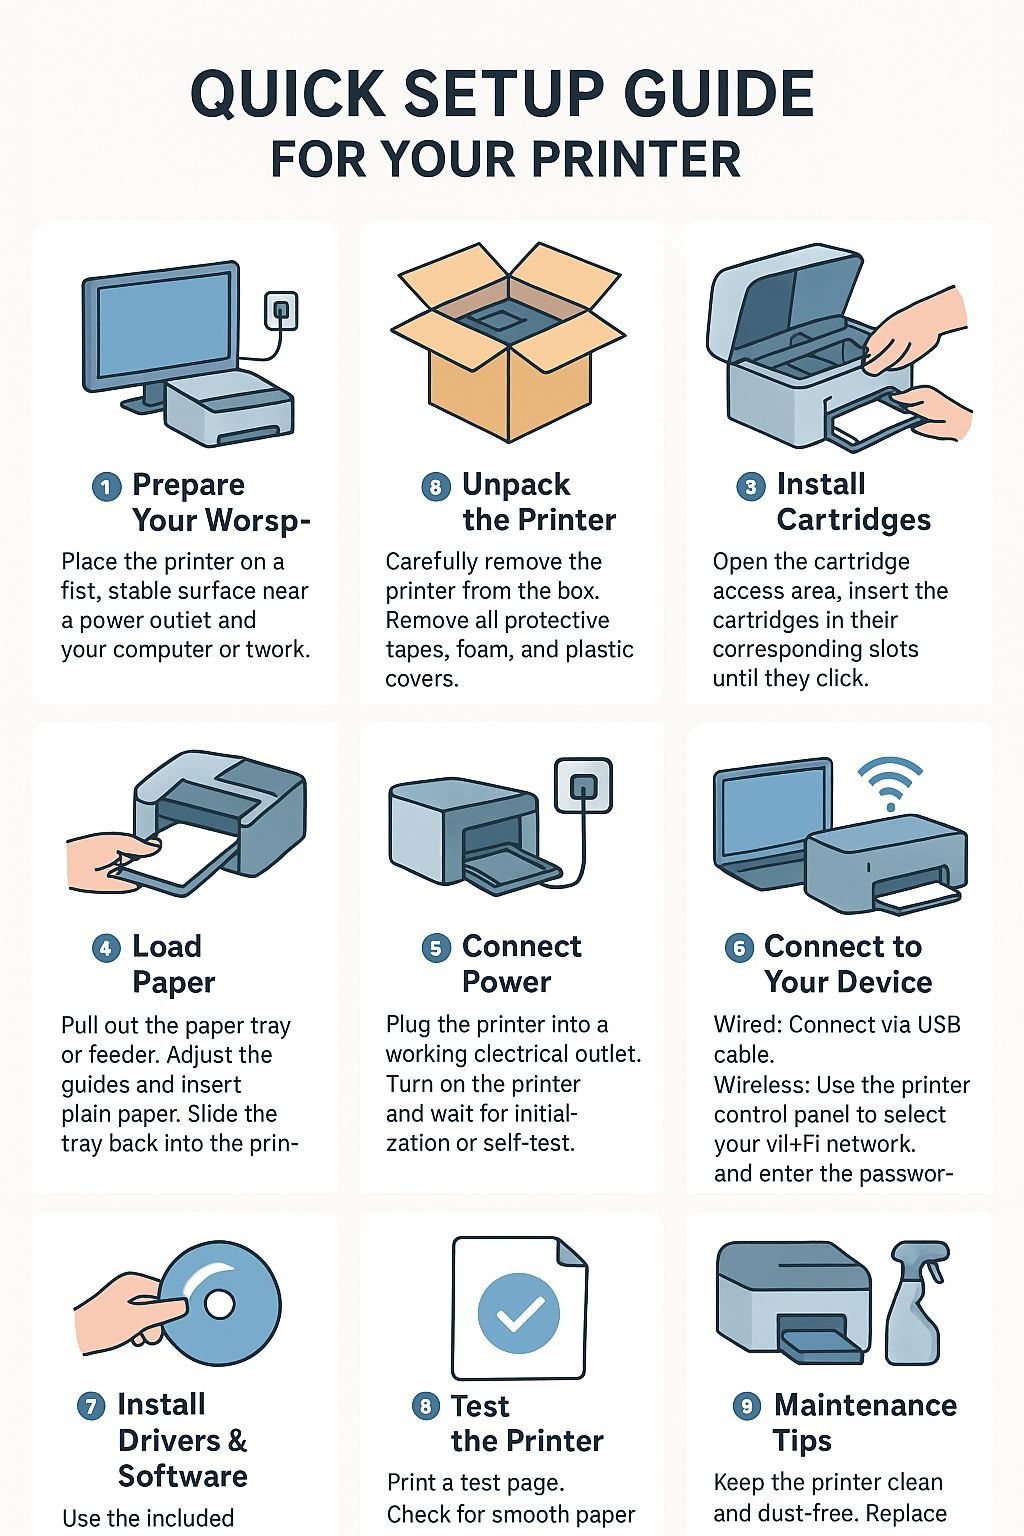
Step 1: Prepare Your Workspace
🖥️ Place the printer on a flat, stable surface near a power outlet and your computer or network.
📏 Ensure there’s enough space around the printer for ventilation and paper movement.
⸻
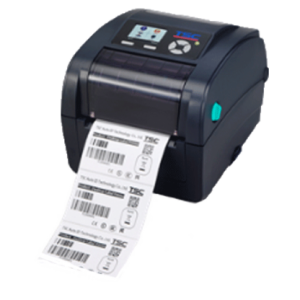
Step 2: Unpack the Printer
📦 Carefully remove the printer from the box.
🧴 Remove all protective tapes, foam, and plastic covers.
✅ Check the box for accessories: power cord, cartridges, manuals, and installation media.
⸻
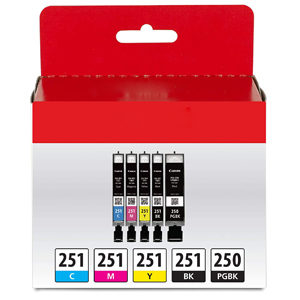
Step 3: Install Cartridges
🖊️ Open the cartridge access area.
🔓 Remove protective seals from the cartridges.
🔄 Insert the cartridges in their corresponding slots until they click.
🛑 Close the access area securely.
⸻
Step 4: Load Paper
📄 Pull out the paper tray or feeder.
📐 Adjust the guides and insert plain paper.
↩️ Slide the tray back into the printer.
⸻
Step 5: Connect Power
🔌 Plug the printer into a working electrical outlet.
⚡ Turn on the printer and wait for initialization or self-test.
⸻
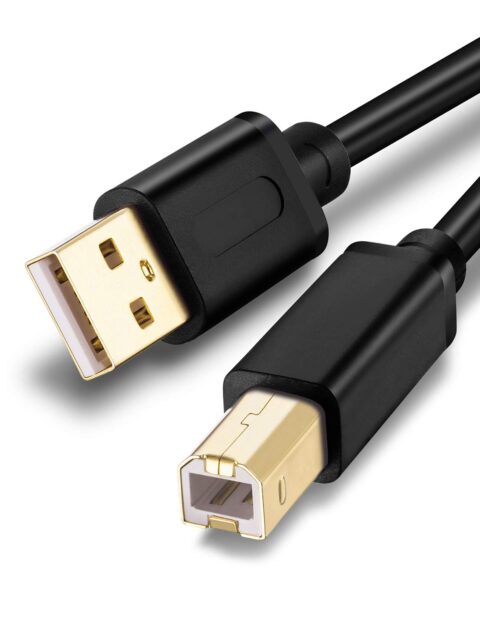
Step 6: Connect to Your Device
💻 Wired: Connect via USB cable.
📶 Wireless: Use the printer’s control panel to select your Wi-Fi network and enter the password.
⸻
Step 7: Install Drivers & Software
💾 Use the included installation CD/USB or download the latest drivers online.
🖱️ Follow the on-screen instructions to install printer software for printing, scanning, and maintenance.
⸻
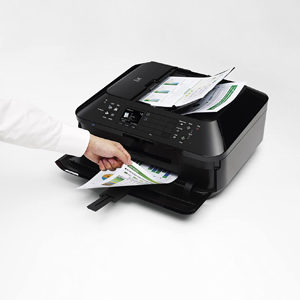
Step 8: Test the Printer
🖨️ Print a test page.
✅ Check for smooth paper feed, proper cartridge installation, and good print quality.
⸻
Step 9: Maintenance Tips
🧹 Keep the printer clean and dust-free.
🔄 Replace cartridges when low.
📄 Use recommended paper to prevent jams and maintain quality.
⸻
💡 Tip: Keep your manual handy for troubleshooting, and always follow safety guidelin